2 CITIUS AND GAUGING STATION CELL
January 16, 2019
ALLOY WHEEL CELL
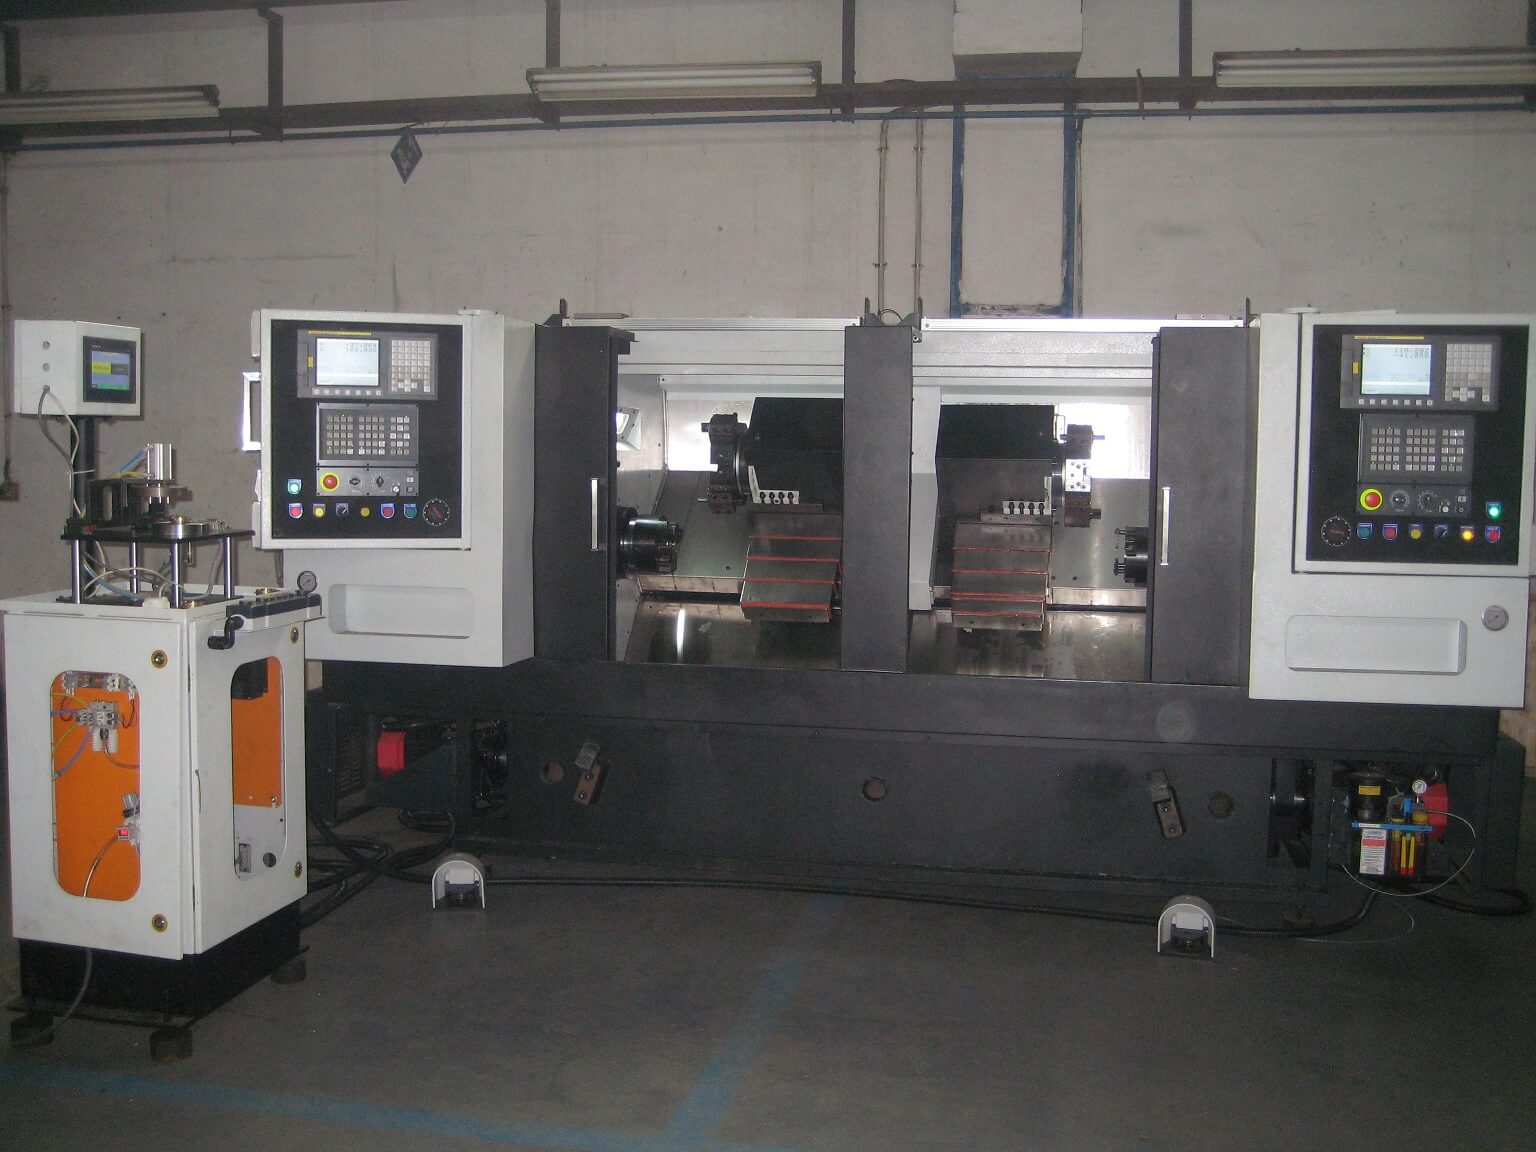
January 16, 2019TWINTURN WITH GAUGING STATION TO CHECK TAPER
Another solution given under the smart correct brand of gauging stations is for checking of a precision taper being done on a twinturn machine.
The taper being generated is the most critical for this component and marshall with the help of it’s gauging station are checking the ID taper on these components. After checking the taper is then auto corrected in a closed loop using marshall’s patented CLAP technology.
This ensures zero defects and almost zero rejection and rework and also ensures that the process remains very stable.
| Specifications | |
| CAPACITY | |
| Swing Over Carriage Cover (mm) | 360 |
| Maximum Turning Dia. (mm) | 260/320 |
| Maximum Turning Length (mm) | 350 |
| with Tailstock | |
| MAIN SPINDLE | |
| Spindle Nose (Std.) | A2-6 |
| Front Bearing Bore (mm) | 100 |
| Maximum Bar Capacity (Std.)mm | 52 |
| SPINDLE DRIVE | |
| Spindle Motor rated power (KW) | 11/15 |
| Variable speed range (mm) | 100-3200 |
| RAPID TRAVERSE STANDARD | |
| X-axis (m/min.) | 24 |
| Z-axis (m/min.) | 24 |
| TOOL TURRET No. of Stations (Std.) | 8 |
| Tool Cross Section | 25×25 |
| Max. Boring Bar Dia. | 40 |
| POSITIONING REPEATABILITY | |
| X-axis | + 1.5 Microns |
| Z-axis | + 2 Microns |
| CNC Controls: SIEMENS 828D (SL) / FANUC 0I mate TD | |
| Weight (approx.) (Kg) | 5000 |


